Welcome to another monthly
Stackaholic Challenge from DCWV! I really love how amazing the sketches have been lately. They are so inspirational and you have all month long to create with them. Here is what I created using our card sketch.
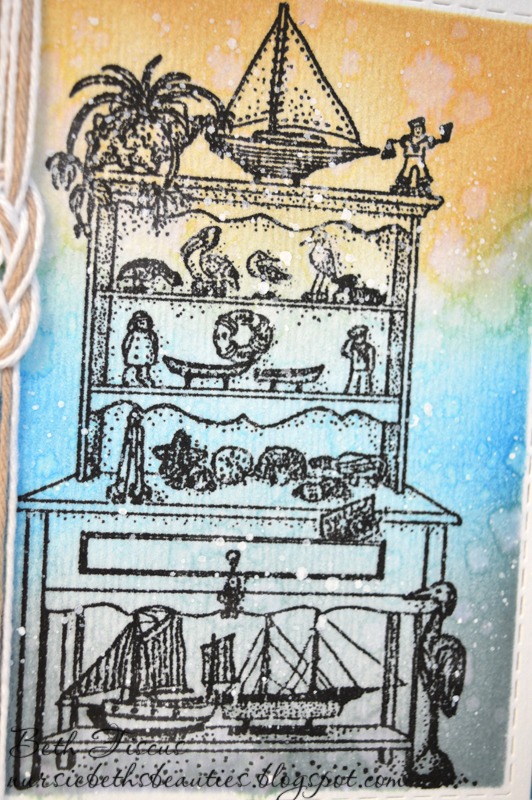
I used papers from DCWV's
Copper Luxury stack and
Whites Special Materials stack. I used a
scalloped stitched nested rectangle die,
stitched rectangle die and
lacey doily die, all from Gina Marie Designs. A tutorial for the double pleated fold technique behind the fussy cut elements can be found
HERE. The measurements for the folded paper differ from the video because of the smaller size. Here are the measurements for this card:
Cut paper 3" tall x 5" wide.
Score at .5, .75, 1.25, 1.5, 2, 2.25, 2.75, 3, 3.5, 3.75, 4.25, 4.5
Make pencil marks at 2.25" and 2.75 on the long sides and 1.25" and 1.75" on the short sides.
Continue with the
video for the rest of the double pleated fold technique!
I added a double bow of
Totally White Trendy Twine and a stamped sentiment to finish off the card.
Here are this month's sketches! This is the card sketch I used.
And here is the layout sketch.
Want to get a chance to win some
DCWV paper? Get out your DCWV papers and follow along with these sketches. The details are on the
DCWV Facebook page. You have all month to create! Good luck!
I hope you have a wonderfully crafty day!