Wednesday, September 30, 2020

33 cards from PhotoPlay Rhapsody Papers

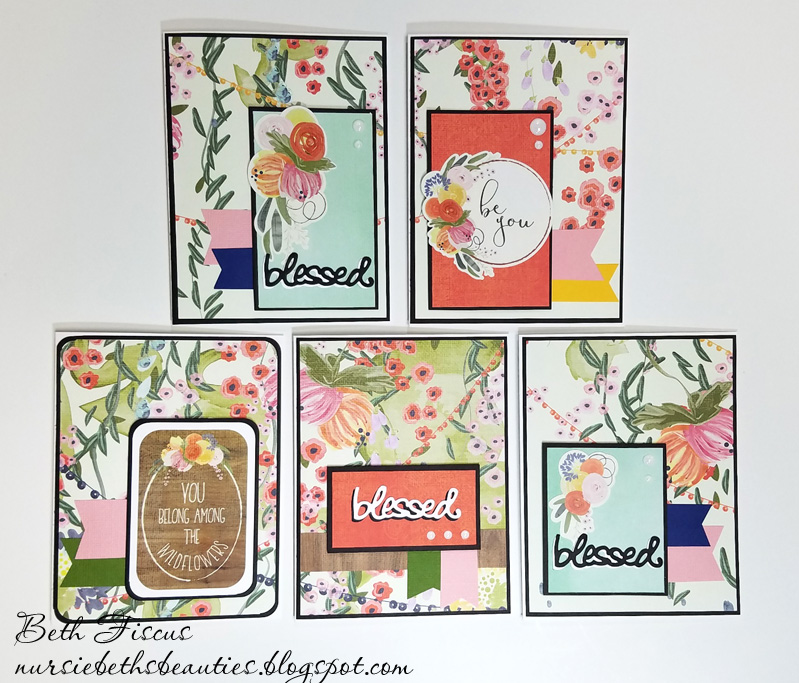
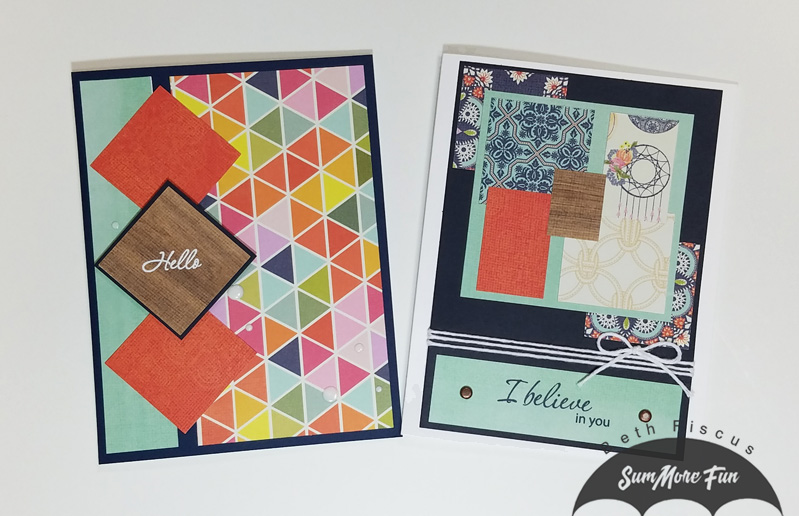
Hello everyone!  I am back to share 33 cards more cards that I created with the Photoplay paper Rhapsody pack that I purchased on clearance for $2.50.  You can see the first post I shared with 23 cards HERE.  That is a total of 56 cards from 12 12x12' sheets of paper...not bad!!  All of today's cards feature stamps from SumMore Fun, so I am sharing this post on the SumMore Fun blog as well.


 Card #1 supply list (6 Love cards):
Patterned paper: 4x5 1/4", 2x3 1/4", 1 1/8x 4 1/2"
Navy cardstock: 4 1/8x5 3/8", 2 1/8x3 3/8", 1 1/4x 4 5/8" Eyelet layer was die cut from base layer        before assembly

Card #2 supply list (2 Thinking of You cards):
Paper Dimensions:
Patterned paper: 4x5 1/4", 3 3/4x5", 2x2 1/4
Dark Brown cardstock: 4 1/8x5 3/8", 2 1/8x2 3/8"

 Card #3 supply list (6 With Deepest Sympathy cards):
Paper Dimensions:
Navy cardstock: 4 1/8x5 3/8"
White cardstock: 2 1/2x3 3/4"

 Card #4 supply list (6 Happy Birthday cards):
Paper Dimensions:
Patterned paper: 5 1/4x4'', 4 1/2x3 1/4", 5 1/4x2"
Navy cardstock: 5 3/8x4 1/8", 4 5/8x3 3/8", 5 1/4x2 1/8" Scalloped circle die cut from largest navy layer before assembly.


 Card #5 supply list (2 Life is Better With You cards):
Paper Dimensions:
Patterned paper: scraps from prior cards
Navy cardstock: 4 1/4x5 1/2"

 Card #6 supply list (6 Celebrate Your Special Day cards):
Paper Dimensions:
Patterned paper: 5 1/4x4", 4x1 1/2"
Dark Brown cardstock: 5 3/8x4 1/8", 4 1/8x1 5/8" Die cut the eyelet edged oval from back layer before assembly.

 Card #7 supply list (2 Wishing You The Best cards):
Paper Dimensions:
Patterned paper: 5 1/4x4", 4x1 1/2"
Dark Brown cardstock: 5 3/8x4 1/8", 4x1 5/8" Die cut the eyelet edged oval from back layer before assembly.

 Card #8 supply list (sailboat card made from scraps):

 Card #9 and #10 supply list (cards made from scraps):

Whew!  We made it through the whole post!  As you can see on in the photo above, I used every last scrap of the paper pack that you see below...Photoplay Rhapsody.  I did have some stickers left, but those can be used by my kids ;)  I hope this inspires you to use up some of your loved patterned papers!  Two other sites to get inspiration on using up paper pads are Kristi Marcotte's blog and Airbornewife's blog.

New to SumMore Fun?
Check out the SumMore Fun Store
Use BETH10 as your discount code at checkout for 10% off.

You can find me at these links on Social Media:
This post contains some affiliate links that may generate a small commission to me at no extra cost to you.

Tuesday, September 29, 2020

23 Cards from PhotoPlay Rhapsody Papers

Hello all! Today I am sharing Part 1 of 2 blog posts in which I will share with you ALL of the cards that I created out of a PhotoPlay Rhapsody paper/sticker pack. I had purchased the pack on clearance at Hobby Lobby for only $2.50. I ended up with 56 cards from it! Here is a closer look at the first 23.
This is the insert of the paper pack that I used.  It contained 12 double sided sheets of cardstock and one sheet of stickers.
First up, this set of 5 floral background cards.  I used some stickers as well as a blessed die cut from Momenta.  I embellished with white enamel dots.
These 3 cards also used stickers from the pack.  The stamp on the lantern card is from Unity stamps and was stamped with Scrapbook.com Midnight Blue ink.  The umbrella card was stamped with Leather ink using a retired stamp and embellished with GMD Emerald Waters enamel dots and Twisted Teal Trendy Twine.
This grouping used 2x3" panels that were part of the paper pack.  The guitar card features a stamp from the Raisin Boat Flourishing Thoughts stamp set.  The butterfly card was embellished with white Nuvo Drops.
This one used several paper scraps, GMD double stitched hexagon dies, Unity Stamps with Camel and Midnight Blue SB.com ink, and GMD gold foil enamel dots.
I made 6 of this style of card.  If you are interested in the dimensions to mass produce these, here they are:
Patterned paper: 4"x5 1/4", 2 3/4"x4'', and 1 3/8"x3 1/2"
Brown CS: 4 1/8"x5 3/8", 2 7/8"x 4 1/8", 1 1/2"x3 5/8" and 2 1/8"x3 1/8"
White CS: 2"x3"
The stamp is retired from Mark's Finest Papers and was stamped in SB.com Leather ink.  The GMD rose knot dies and GMD Tropical Island dots finished off the cards.
I made 4 of this card.  I started with colored card bases then die cut GMD stitched rectangle dies and matted those with black cardstock measuring 2 1/2"x3 3/4".  On white cardstock, I stamped the cupcake (in SB.com Caribbean ink) and the sentiement (in black) from Unity stamp's So Glad You Were Born set.  I die cut around that with a CC stitched circle die and matted that with a CC scalloped stitched circle die in black.  I added colored accents on the image with Artify markers.  The finishing touch was two hearts in the top right corner.  They were punched from cardstock and covered with Glossy Accents.  I also added Glossy Accents to the stamped hearts and cheeks on the cupcake.
Last, here is a card that I forgot to add in the main photo...oops!  It uses one of the 2x3" panels included in the paper pack as well as GMD gold foil enamel dots.
Whew!  That was a lot!  Come back tomorrow to see the remaining 36 cards I created from the Photoplay Rhapsody paper pack.

I also wanted to let you all know that I found a new favorite white cardstock for card bases!  It is Accent Opaque White 100# from Amazon.  It is a beautiful true white, true to size, a nice thick weight, and a very reasonably priced.  They also have 120# cardstock in the same brand if you prefer super heavy card bases for coloring on, etc.   

I hope you have a wonderfully crafty day!

Friday, September 25, 2020

Dinosaur Double Flap Fun Fold Card

Hello all!  I have a nephew who loves dinosaurs.  His birthday was earlier this month, so I dug through my papers until I found just the right ones to make him this double flap fun fold card.  You can find the tutorial I followed to create this card HERE.
For supplies, I used kraft cardstock and dinosaur scrapbook paper that had both been from Oriental Trading years ago.  I used GMD x-stitched circle dies and a dino die cut that had been included with the paper.  I embellished with GMD peacock clear enamel dots.
The belly band slides off to reveal lots of fun papers...
Here is the view of it all the way opened up!
Didn't it turn out cute?!  I love all the different papers that I was able to use on it.

I hope you have a wonderfully crafty day!

Wednesday, September 23, 2020

Clothes Line Ghost Card

Hello all!  I am back on the SumMore Fun blog today with one more Halloween card...for now anyway.  This card was created with the Raisin Boat Sheet Happens stamp set.  I think the stamps in that set are a hoot!
I stamped the image and sentiment from Sheet Happens using Scrapbook.com hybrid black ink and colored the image with Artify alcohol markers.  I die cut around the stamps with a GMD Wonky Stitched Rectangle die, then using blending brushes, I added Scrapbook.com Sky Blue and Pine inks around the rectangle.  The background was created with white cardstock embossed with a Cuttlebug Skeleton Scroll embossing folder and a strip of patterned paper.  The stamped panel was popped up with foam tape onto the background.  I kept the embellishments simple by adding a trio of GMD Plum Tree enamel dots.  There you have it!  A simple yet humorous Halloween card!

I hope you have a wonderfully crafty day!

New to SumMore Fun?
Check out the SumMore Fun Store
Use BETH10 as your discount code at checkout for 10% off.

You can find me at these links on Social Media:
This post contains some affiliate links that may generate a small commission to me at no extra cost to you.

Monday, September 21, 2020

Trendy Bakers Twine ~ Fall Thanks with Teal

Happy Monday!  Today I am on the Trendy Twine blog with this fall themed card.  I especially love using teal in fall projects, so the monthly spotlight of Twisted Teal Trendy Twine and the brand new Light Teal Tag-Its are perfect for that.
For this card, I used patterned papers from DCWV's Sweater Weather and kraft cardstock.  I used an edge die to create a fun edge in the middle of the card.  I really had a lot of fun with the tag!  I started with a Light Teal Tag-It and stamped it all over with the images from the Hello Fall Planner stamp set using Mermaid ink from Scrapbook.com.  The sentiment is from the Happy Thanksgiving stamp set and I used Scrabook.com Cinnamon ink for it, then highlighted with white gel pen next to it.  Finally, I added a Kraft Brown Trendy Page Dot and Twisted Teal Trendy Twine to the top of the tag.  The heart was die cut from a GMD big and little pierced chain die.  The big dots were perfect to lace more Twisted Teal Trendy Twine through!  That was popped up with foam tape.  The finishing touch was a trio of teal enamel dots in the top right corner.

Here's what I used from Annie's Paper Boutique:

Hello Fall Planner stamps (on sale for ONLY $2.95!)

Here is a closer look at the gorgeous Twisted Teal Trendy Twine.  You KNOW you need this in your life!  Seriously, you do.

I hope you have a wonderfully crafty day! 

If you are new to Trendy Twine, you will want to check out these fun places:
Shop for Trendy Twine HERE
Follow Trendy Twine on Facebook

Wednesday, September 16, 2020

Trick or Treat Ghost Card

Hello friends! Today I am back with a fun Halloween card for the SumMore Fun blog. The stamp set that I used is the Raisin Boat Boo Hoo set.  It was part of the Ghost Pack that was sold out after a short time a couple weeks ago, but it can be purchased individually at this time.
I really had a lot of fun using lots of colors and patterns with this card!  I started out by stamping the images and sentiment from the Boo Hoo set with Scrapbook.com black hybrid ink and colored the images with Artify alcohol markers.  I then used my Brother Scan N Cut to cut around the ghost, pumpkin basket and all those tiny candies.  That saved me a lot of work!  I layered up multiple Halloween patterned papers, including a vellum spiderweb one and the orange one with a die cut edge.  I then wrapped Grape Limeade Trendy Twine around the card front.
I glued on the sentiment and candies with tacky glue, but popped up the ghost and pumpkin with foam tape.  I even added Glossy Accents to the candies and ghost eyes to make them really shine!

I hope you have a wonderfully crafty day!

New to SumMore Fun?
Check out the SumMore Fun Store
Use BETH10 as your discount code at checkout for 10% off.

You can find me at these links on Social Media:
This post contains some affiliate links that may generate a small commission to me at no extra cost to you.

Thursday, September 10, 2020

Trendy Bakers Twine~Teal Fall Tag

Happy Thursday!  Today I am on the Trendy Twine blog with this sweet fall tag.  Here in Nebraska, we have been getting real fall temperatures this week and it makes me want to create ALL the fall things!  I especially love using teal in fall projects, so the monthly spotlight of Twisted Teal Trendy Twine is absolutely perfect to accent with.
I started with a Kraft Large Tag-It and glued teal printed cork paper from DCWV's Fall & Halloween cork stack on it. On the back of the tag, I drew where I wanted the holes for the Trendy Twine to go through, then punched them with a tiny hole punch.  I then threaded the Twisted Teal Trendy Twine through the holes, weaving them in the process.  I used a Happy Fall Pumpkins Print & Punch Tags layered with a brown die cut GMD Doily die as the focal point.  It is popped up with foam tape.  I glued Autumn Sequins on the tag as well.  For the top, I first added a Spiced Pumpkin Trendy Page Dot, then placed two strands of Twisted Teal Trendy Twine through the tag hole, and finally tied around the teal twine with a bow of Totally Pumpkin Trendy Twine.  

Here's what I used from Annie's Paper Boutique:


Here is a closer look at the gorgeous Twisted Teal Trendy Twine.  You KNOW you need this in your life!  Seriously, you do.

I hope you have a wonderfully crafty day! 

If you are new to Trendy Twine, you will want to check out these fun places:
Shop for Trendy Twine HERE
Follow Trendy Twine on Facebook

Wednesday, September 09, 2020

Sheet Happens! Card

Hello all!  I am back on the SumMore Fun blog today with another fun Halloween card.  I really love the personality of the ghost stamp sets that were included in the Ghost Pack we released earlier!  This card was created with the Raisin Boat Sheet Happens stamp set.
I stamped the image and sentiment from Sheet Happens using Scrapbook.com hybrid black ink and colored the image with Artify alcohol markers.  I then used my Brother Scan N Cut to cut around the image.  The striped paper was from the sold out Ghost Pack, but I jazzed it up by adding some Faded Jeans Distress Oxide ink onto it by using the smooshing technique.  I thought that color matched the "paint" color from the can well!  It really looked like the ghost had quite the painting mishap!  I added two die buttons die cut with a Cottage Cutz button die and embellished with Totally Pumpkin Trendy Twine.  This is not your normal Halloween card and I love that!

I hope you have a wonderfully crafty day!

New to SumMore Fun?
Check out the SumMore Fun Store
Use BETH10 as your discount code at checkout for 10% off.

You can find me at these links on Social Media:
This post contains some affiliate links that may generate a small commission to me at no extra cost to you.

Wednesday, September 02, 2020

Pink Halloween Card

Good morning!  Today I am back on the SumMore Fun blog with an adorable, non-traditional Halloween card.  If you have followed my blog for a while, you know that I am all about cute projects for Halloween and this one just oozes CUTE!  The stamp set that I used is the Raisin Boat Boo Hoo set.
How did I make this card?  I started by making the background paper customized.  Both the eyes and striped paper were part of the Ghost Pack that SumMore Fun released over the weekend (but is now sold out!). I foiled the eyes with gold, then used Worn Lipstick Distress Oxide and a blending brush to make it pink.  I spritzed it with water to get a speckled appearance, then inked around the edges with Scrapbook.com Candy Shop Pink hybrid ink. I added a die cut circle of vellum to the pink paper then adhered the striped paper that was matted with black and wrapped with Pink Licorice Trendy Twine. The sentiment is from the Boo Hoo stamp set and was also in Candy Shop Pink ink.
Now onto the fun part...THAT IMAGE!! Now honestly, when have you ever seen a cuter ghost? I haven't!  It is from the Raisin Boat Boo Hoo set.  I stamped it with Scrapbook.com black hybrid ink and colored it with Artify alcohol markers. It is die cut with a GMD stitched rectangle die. Ready for the fun part?  I placed it on an action wobble so it moves!  The finishing touches were black matte enamel dots and a bow of Pink Licorice Trendy Twine on the ghost's head.  I think this will be a perfect card for my niece :)

I hope you have a wonderfully crafty day!

New to SumMore Fun?
Check out the SumMore Fun Store
Use BETH10 as your discount code at checkout for 10% off.

You can find me at these links on Social Media:
This post contains some affiliate links that may generate a small commission to me at no extra cost to you.